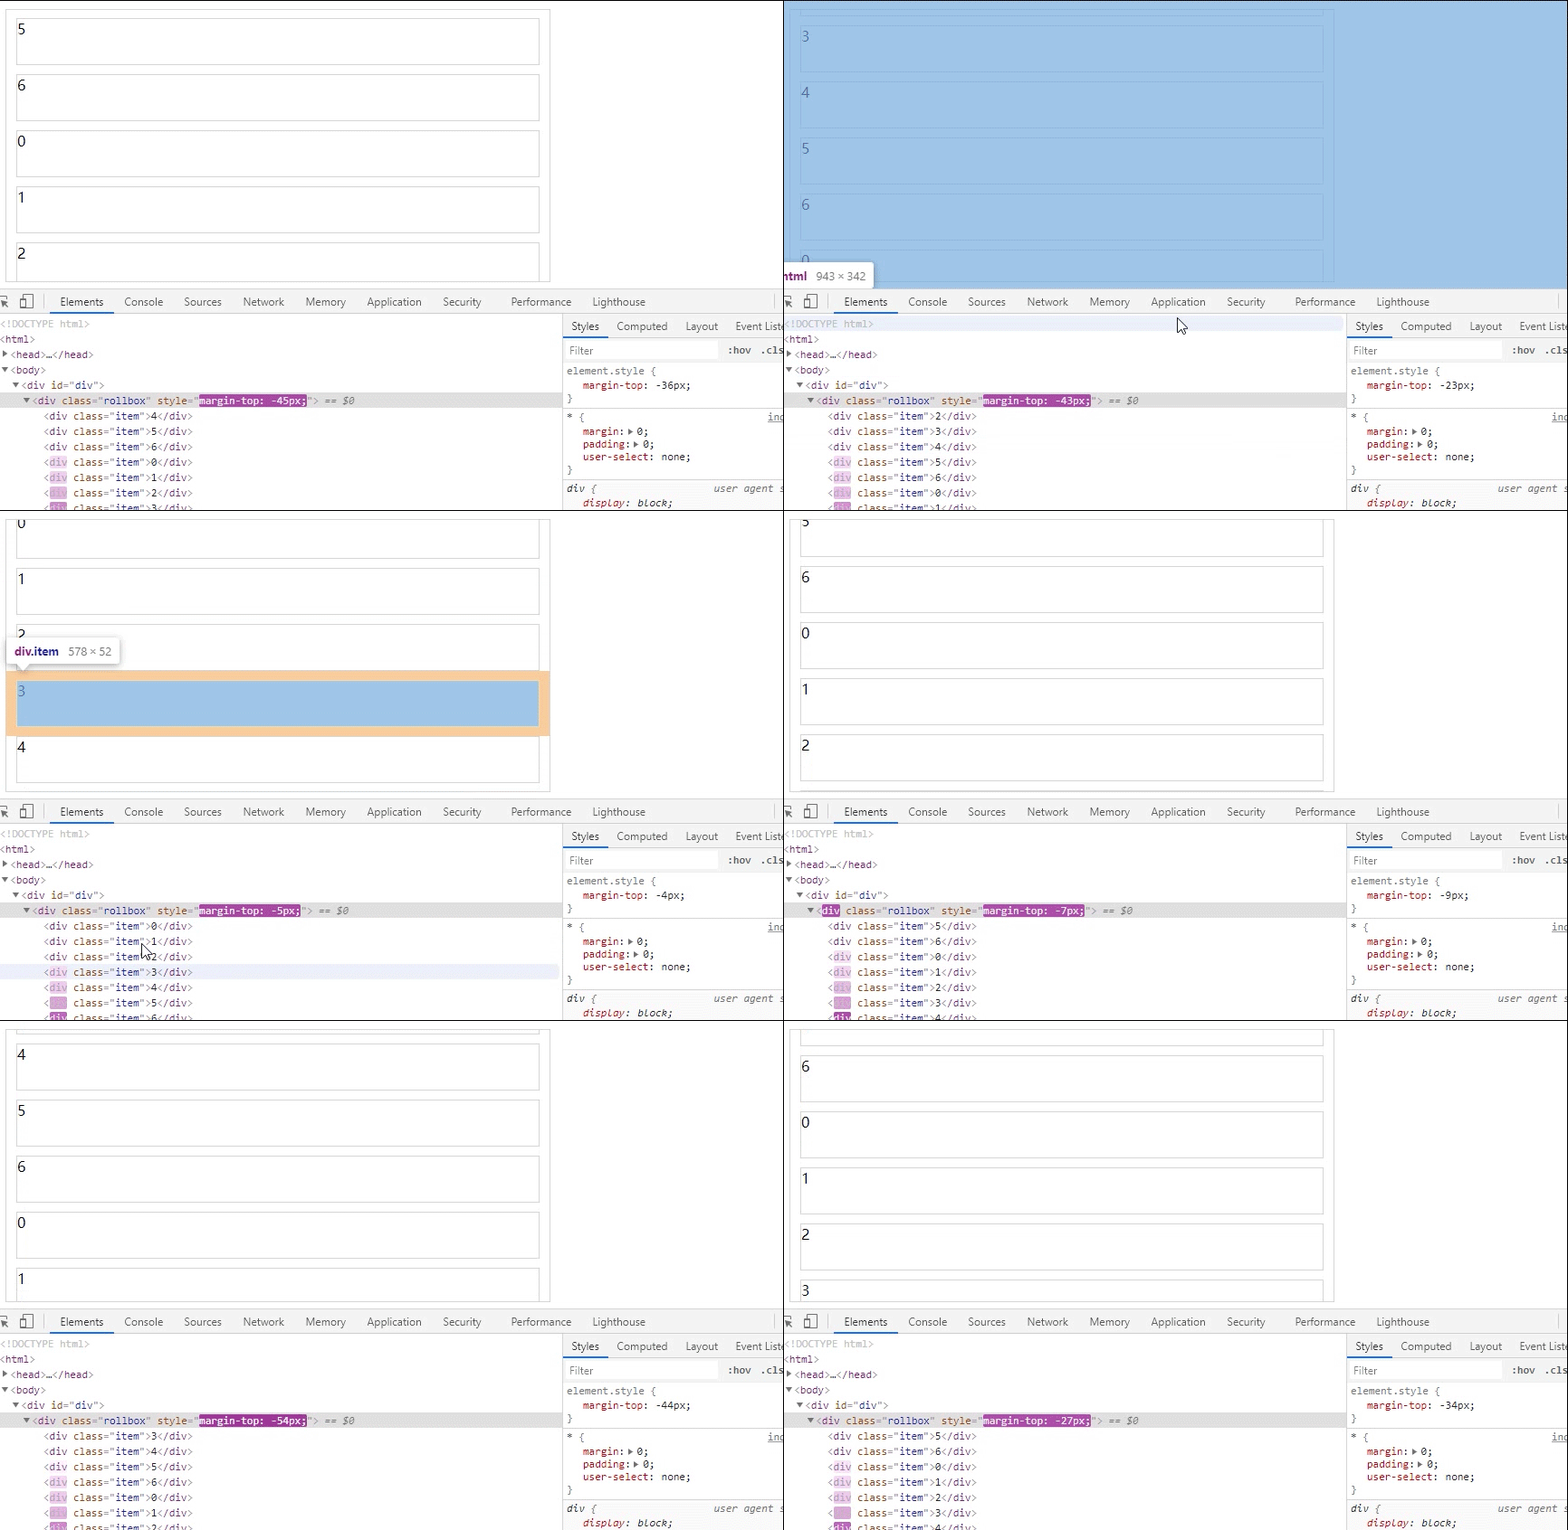
无缝轮播是一个很常见的效果,理解逻辑之后就很简单了。
效果如下

代码部分
<!DOCTYPE html>
<html>
 <head>
  <meta charset="utf-8">
  <title>做无缝轮播</title>
  <script src="js/jquery-3.4.1.min.js"></script>
  <style>
   * {
    margin: 0;
    padding: 0;
    user-select: none;
   }

   #div {
    border: 1px solid lightgray;
    width: 600px;
    height: 300px;
    margin: 20px;
    overflow: hidden;
   }
   .item {
    border: 1px solid lightgray;
    width: 96%;
    height: 50px;
    margin: 10px auto;
   }
  </style>
 </head>
 <body>
  <div id="div">
   <div class="rollbox"></div>
  </div>
 </body>
</html>
<script>
 $(document).ready(function() {
  for (var i = 0; i < 7; i++) {
   var $item = $("<div class='item'>" + i+ "</div>");
   $item.appendTo($("#div .rollbox"));
  }
 })
 //轮播动作

 $(function() {
  $("#div").roll(1);
 })

 $.prototype.roll = function(span) {
  span = span == undefined ? 20 : span; //滚动速率
  var $that = $(this).find('.rollbox');
  var index = 0;
  var t = setInterval(function() {
   $that.css('margin-top', index + 'px');
   index--;
   check();
  }, span)
  //
  $that.mouseenter(function() {
   clearInterval(t);
  })
  $that.mouseleave(function() {
   t = setInterval(function() {
    $that.css('margin-top', index + 'px');
    index--;
    check();
   }, span)
  })
  function check(){
   var first = $that.children().first();
   var top = parseInt(first.css('margin-top').replace('px',''));
   var bottom = parseInt(first.css('margin-bottom').replace('px',''));
   var height  =first.height();
   bw = parseInt(first.css('border-width').replace('px',''));
   var temp = index+top+height+bottom;
   if(temp==top-2*bw){
    var last = $that.children().last();
    last.after(first);
    $that.css('margin-top','0px');
    index=0;
   }
  }
 }
</script>
思路解释
- 一开始我是打算直接在元素上面进行动画效果的,不过中间弯弯绕绕还是有点烦,所以直接给一个辅助容器,包住所有子元素,我们让这个辅助容器上下运动就行
- 就是你缓慢移动辅助容器往上的时候,就已经有滚动效果了,然后我们判断最上面的那个容器是否已经完全隐去,然后再把辅助容器复位,把最上面额元素放到最下面就行了
以上就是本文的全部内容,希望对大家的学习有所帮助,也希望大家多多支持NICE源码。


