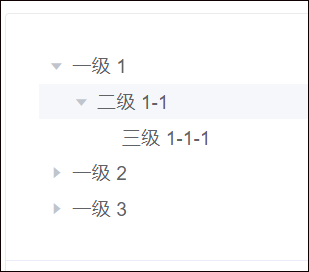
本文实例为大家分享了微信小程序实现Tab切换效果的具体代码,供大家参考,具体内容如下
使用步骤
代码如下(示例):
定义一个状态status
data: {
   status: 0,
  },
代码如下(示例):
在点击切换时利用status来切换根据index下标来实现
js代码:
handtab(e) {
    console.log(e);
    let index = e.currentTarget.dataset.index
    console.log(index);
    this.setData({
      currentIndex: index,
      status: e.currentTarget.dataset.index
      //在点击切换时利用status来切换根据index下标来实现
    })
  },
wxml代码:
<view>
  <block wx:for="{{data}}" wx-key="index" class="list_top">
    <view data-index="{{index}}" class="list_one {{index==currentIndex?'active':''}}" bindtap="handtab">{{item.name}}
    </view>
  </block>
  <block wx:for="{{shopList}}" wx:key="index">
    <view class="shopList_box" bindtap="handDetail" data-id="{{item.goods_id}}" wx:if="{{status==0}}">
    //在wxml中使用wx:if status == 0来改变tab切换下面的部分显示与隐藏
      <view class="shopList_left">
        <image src="{{item.goods_big_logo}}"></image>
      </view>
      <view class="shopList_right"> <text class="right">{{item.goods_name}}</text>
        <text class="price">¥{{item.goods_price}}</text>
      </view>
    </view>
  </block>
  <block>
  //status==1的情况
    <view wx:if="{{status==1}}">2</view>
  </block>
  <block>
   //status==2的情况
    <view wx:if="{{status==2}}">3</view>
  </block>
</view>
以上就是本文的全部内容,希望对大家的学习有所帮助,也希望大家多多支持NICE源码。


