目录
- npm
- 安装loader
- Import Plugins
- 开始
- 排列方式
- 折叠展示
- 点击节点
- 其他功能
npm
# use npm
npm install vue-tree-color
安装loader
npm install --save-dev less less-loader
Import Plugins
import Vue from 'vue'
import Vue2OrgTree from 'vue-tree-color'

Vue.use(Vue2OrgTree)
开始
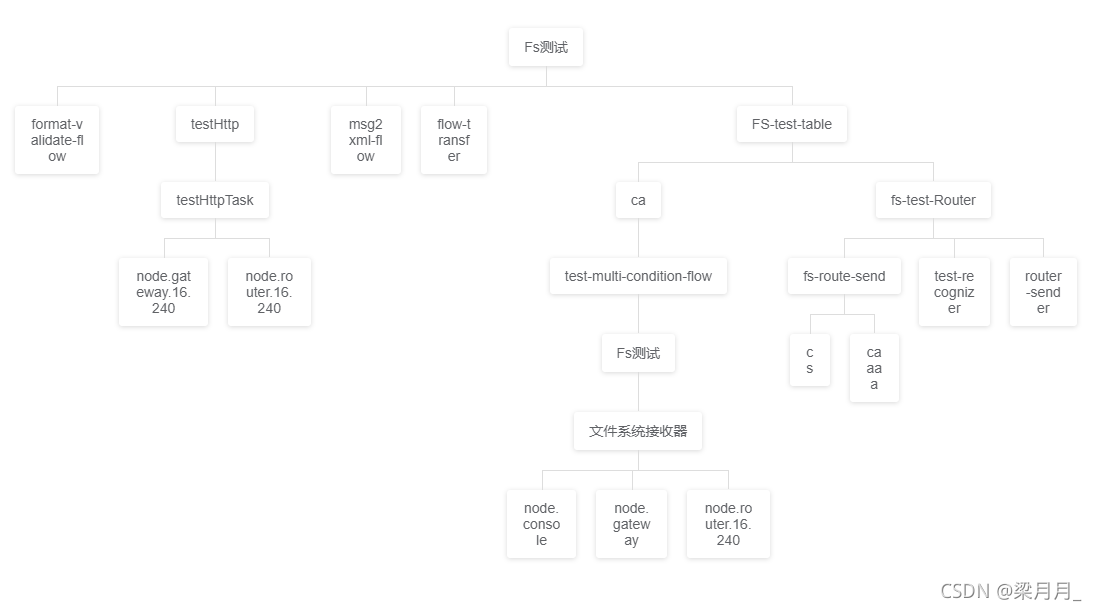
因为已经安装过了组件,所以可以直接使用,在vue页面中,直接使用组件标签,动态绑定data数据(data数据为递归数据即可)
<vue2-org-tree :data="data"/>
data数据放入页面中
其中,data数据中,id 每个元素不同的ID ,label为name, children为自己的子集数据
排列方式
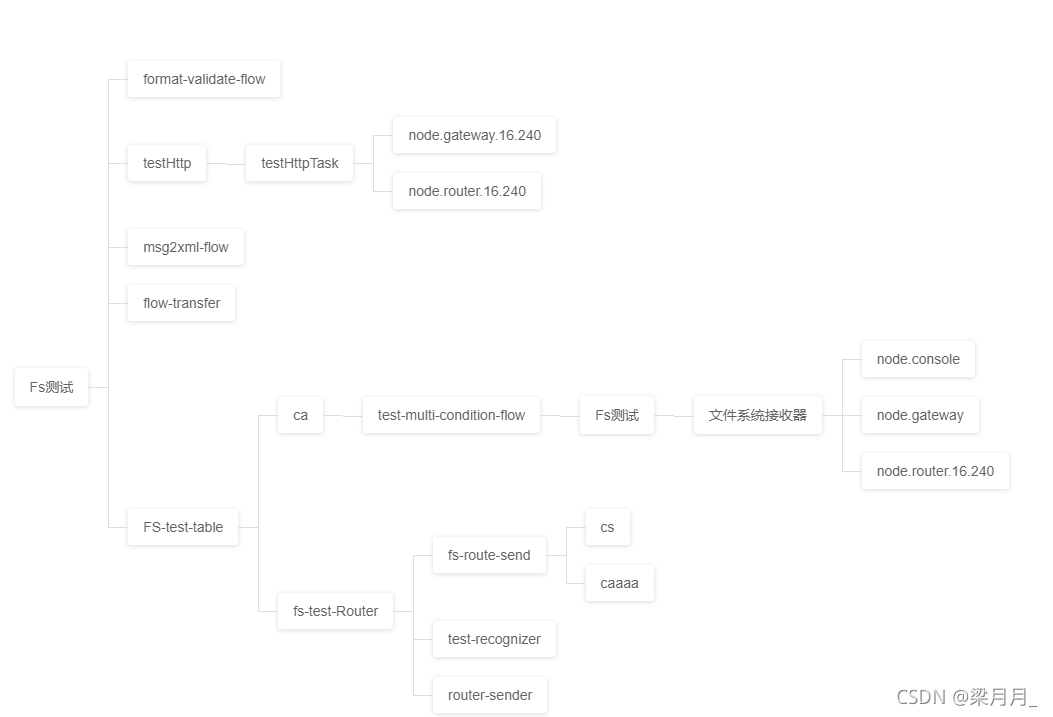
刚才我们看到是默认排列方式,其实还有一种水平排列方式
# 只需要加上 horizontal 即可
<vue2-org-tree :data="data" :horizontal="true" />
效果如下
折叠展示
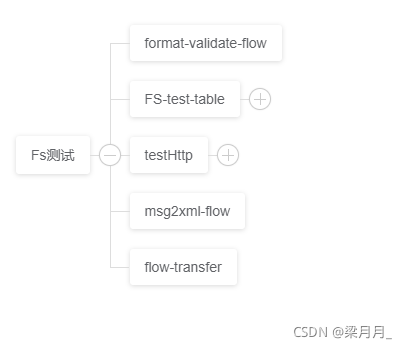
添加一个属性 collapsable
<vue2-org-tree :data="data" :horizontal="true" collapsable />

怎么展开呢,需要加一个组件自带方法
on-expand
<vue2-org-tree :data="data" :horizontal="true" collapsable @on-expand="onExpand" />
js部分
methods: {
    collapse(list) {
        var _this = this
        list.forEach(function(child) {
            if (child.expand) {
                child.expand = false
            }
            child.children && _this.collapse(child.children)
        })
    },
    onExpand(e, data) {
        if ('expand' in data) {
            data.expand = !data.expand
            if (!data.expand && data.children) {
                this.collapse(data.children)
            }
        } else {
            this.$set(data, 'expand', true)
        }
    }
}
效果如下
点击节点
添加一个方法 on-node-click
<vue2-org-tree :data="data" :horizontal="true" collapsable @on-expand="onExpand" @on-node-click="onNodeHandle" />
js
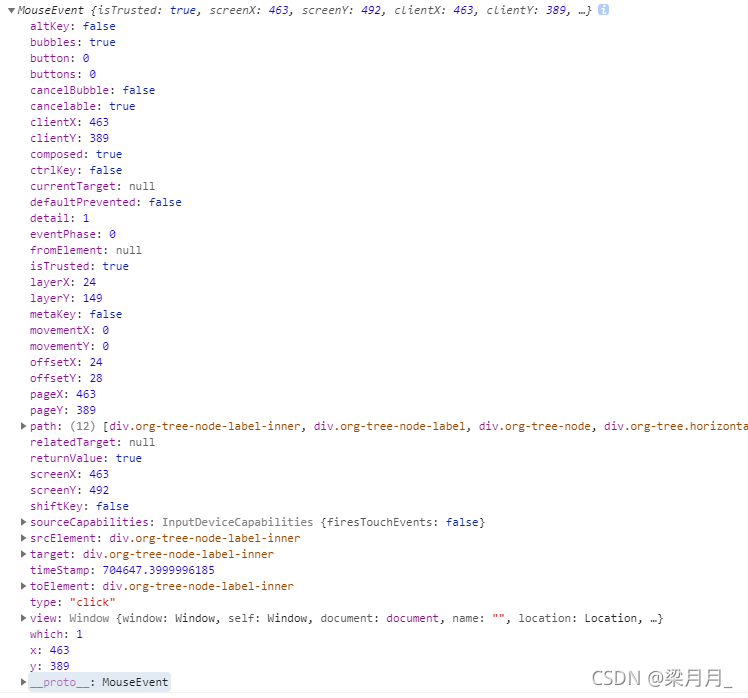
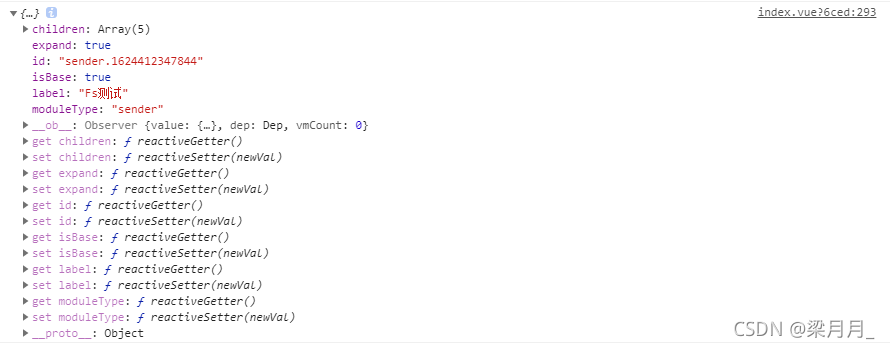
onNodeHandle(e, data) {
    // e是节点数据
    console.log(e)
    // data是渲染在节点上的数据
    console.log(data)
},
打印结果
其他功能
组件还提供了其他功能,大概比较常用的还有,设置 节点 颜色 ,移入移出功能,等等,我把github地址粘贴进来,有兴趣的可以自己了解
点击下方链基即可查看组件更多功能
https://github.com/hukaibaihu/vue-org-tree#readme
到此这篇关于Vue之vue-tree-color组件实现组织架构图案例详解的文章就介绍到这了,更多相关Vue之vue-tree-color组件实现组织架构图内容请搜索NICE源码以前的文章或继续浏览下面的相关文章希望大家以后多多支持NICE源码!

