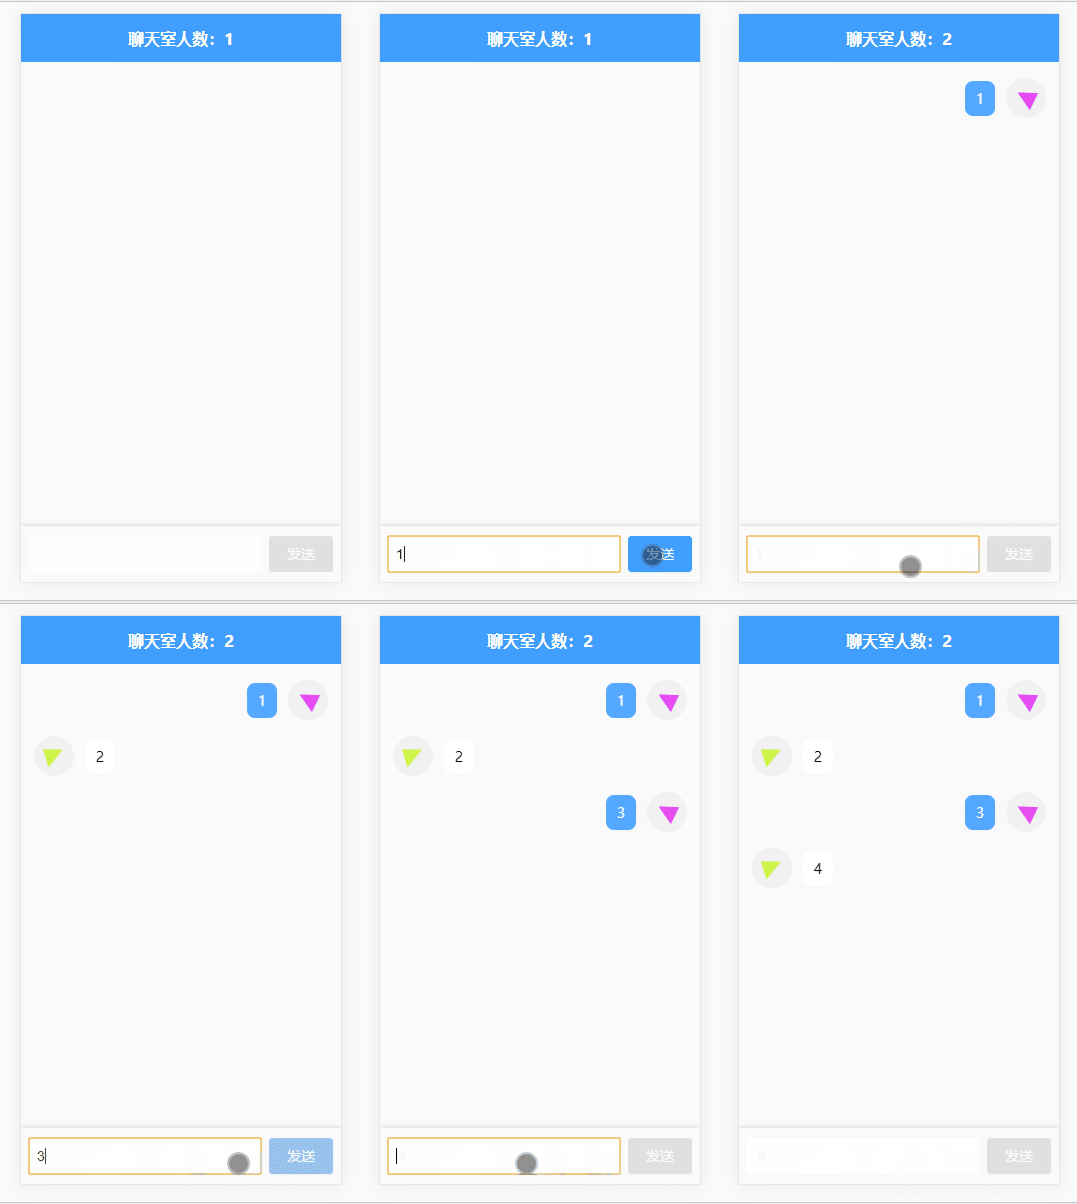
vue聊天框发送表情以及vue界面发送表情实现的具体代码,供大家参考,具体内容如下
1.在发送消息的时候,判断发送的消息是不是表情,表情的type:3,content:[爱心],这样存储在数据库中
2.在获取聊天记录的时候,判断type===3,处理表情,
<img v-else-if="chatItem.type === 3" :src="emojiUrl%20+%20emojiMap[chatItem.content]" style="width:25px;height:25px" />
1.textElement.vue
<template>
  <div class="text-element-wrapper" >
    <div class="text-element">
      <div :class="isMine ? 'element-send' : 'element-received'">
        <p>{{ date }}</p>
        <!-- 文字 -->
        <span>{{ chatItem.content }}</span>
        <span v-if="chatItem.type === 1">{{ chatItem.content }}</span>
        <!-- 表情 -->
        <img v-else-if="chatItem.type === 3" :src="emojiUrl%20+%20emojiMap[chatItem.content]" style="width:25px;height:25px" />
      </div>
      <div :class="isMine ? 'send-img' : 'received-img'">
        <img :src="chatItem.from_headimg" width="40px" height="40px"/>
      </div>
    </div>
  </div>
</template>

<script>
  // import decodeText from '../../../untils/decodeText'
  import { getFullDate } from '../../../untils/common'
  import {emojiMap, emojiUrl} from '../../../untils/emojiMap'

  export default {
    name: 'TextElement',
    props: ['chatItem', 'isMine'],
    data() {
      return {
        emojiMap: emojiMap,
        emojiUrl: emojiUrl,
      }
    },
    computed: {
      // contentList() {
      //   return decodeText(this.chatItem)
      // },
      // 时间戳处理
      date () {
        return getFullDate(new Date(this.chatItem.time * 1000))
      },
    }
  }
</script>

<style scoped>
  .text-element-wrapper {
    position: relative;
    max-width: 360px;
    border-radius: 3px;
    word-break: break-word;
    border: 1px solid rgb(235, 235, 235);
  }

  .text-element {
    padding: 6px;
  }

  .element-received {
    max-width: 280px;
    background-color: #fff;
    float: right;
  }
  .received-img {
    float: left;
    padding-right: 6px;
  }

  .element-send {
    max-width: 280px;
    background: rgb(5, 185, 240);
    float: left;
  }
  .send-img {
    float: right;
  }
</style>
vue界面发送表情实现,主要是思路:
<template>
 <section class="dialogue-section clearfix" >
            <div class="row clearfix" v-for="(item,index) in msgs" :key = index>
                <img :src="item.uid%20==%20myInfo.uid%20?%20myInfo.avatar%20:otherInfo.avatar" :class="item.uid == myInfo.uid ? 'headerleft' : 'headerright'">
                <p :class="item.uid == myInfo.uid ? 'textleft' : 'textright'" v-html="customEmoji(item.content)"></p>
            </div>
        </section>
         <div id="emoji-list" class="flex-column" v-if="emojiShow"> //首先根据这个来判断发送表情弹窗用不用出现
              <div class="flex-cell flex-row" v-for="list in imgs">
                <div class="flex-cell flex-row cell" v-for="item in list" @click="inputEmoji(item)">
                  <img :src="'./emoji/'+%20item%20+%20'.png'">
                </div>
              </div>
            </div>
</template>
<script>
import { sendMsg } from "@/ws"; //是一个长连接
import _ from "lodash";//这个是js一个很强大的库
import eventBus from '@/eventBus'//这是一个子父传递的公共文件
console.log(emoji)
export default {
  data() {
    this.imgs = _.chunk(emoji, 6) //这个是调用lodash库的chunk方法 把 六个元素分成一个数组只不过是emoji这个数组中的二维数组
    return {
      emojiShow: false //刚开始默认不显示 点击按钮显示 点击的按钮上可以写@click='emojiShow=emojiShow'这种写法
    };
  },
  methods: {
    customEmoji(text) { //这个函数就是服务器端把传过来的名称转化为图片的
      return text.replace(/\[([A-Za-z0-9_]+)\]/g, '<img src="./emoji/$1.png" style="width:30px; height:30px;">')
    },
    inputEmoji(pic) {
      this.content += `[${pic}]`//传过来的名字转为图片
    }
};
</script>
<style scoped>
@import '../../assets/css/dialogue.css';

#emoji-list {
  height: 230px;
  background: #fff;
}
#emoji-list .cell {
  line-height: 13vh;
  border-right: 1rpx solid #ddd;
  border-bottom: 1rpx solid #ddd;
}
.flex-row {
  display: flex;
  flex-direction: row;
  justify-content: center;
  align-items: center;
}
.flex-column {
  display: flex;
  flex-direction: column;
  justify-content: center;
  align-items: stretch;
}
.flex-cell {
  flex: 1;
}
.cell img {
  width: 35px;
  height: 35px;
}
</style>
以上就是本文的全部内容,希望对大家的学习有所帮助,也希望大家多多支持NICE源码。


