- 在此只关注v3的安装及使用,如果想了解v2可移步到其官网:https://element.eleme.io/#/zh-CN/component/installation
- v3官网:https://element-plus.org/zh-CN/guide/installation.html
- 使用element ui时vue2和vue3的区别
- 安装命令
main.js中引入文件有所不同 使用icon时v2不需要安装,v3需安装 v2和v3在vue文件中使用icon时编写方式有所不同
icon在v2中使用的是字体,v3中使用的是svg
安装Element ui
- 使用npm安装
npm install element-plus –save
icon图标需安装
npm install @element-plus/icons-vue
- 使用
在main.js中全局转入
import elementPlus from 'element-plus'
import 'element-plus/dist/index.css'
import '@/assets/css/index.scss'
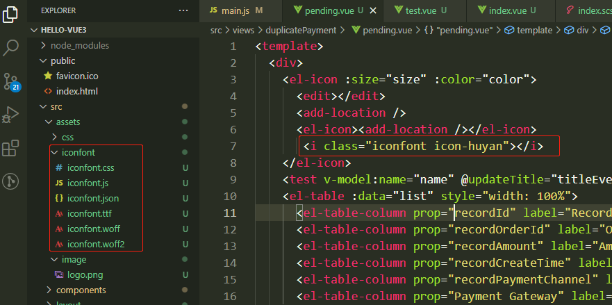
//引入外部矢量图
import '@/assets/iconfont/iconfont.css'
const app = createApp(App);
app.config.globalProperties.axios = axios;
app
.use(elementPlus)
.mount('#app');
按照Element ui中规定标签的写法,正常编写代码
vue文件使用icon图标
<el-icon :size="size" :color="color"> <edit></edit> </el-icon>
或
<edit></edit>
<add-location/>
//矢量图
<i class="iconfont icon-huyan"></i>
//引入需要使用的icon(svg)
import {Edit,AddLocation} from '@element-plus/icons-vue'
components:{ Edit, AddLocation }
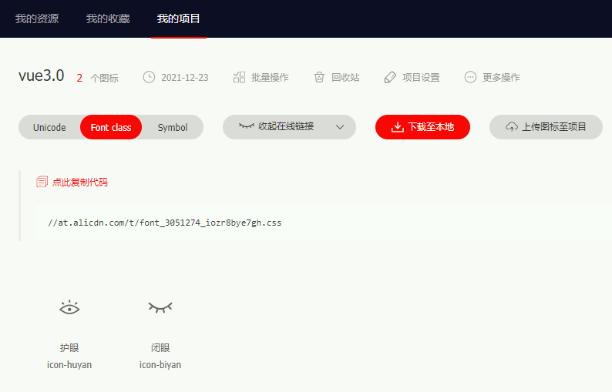
项目中引入矢量图
下载
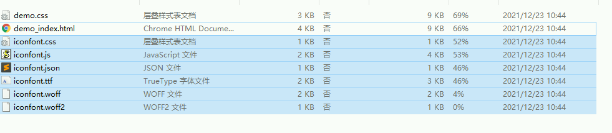
- 使用
将这六个文件拷贝到项目中,在main.js中引入后再进行使用
到此这篇关于vue3.0安装Element ui及矢量图使用的文章就介绍到这了,更多相关vue3.0安装Element ui内容请搜索NICE源码以前的文章或继续浏览下面的相关文章希望大家以后多多支持NICE源码!